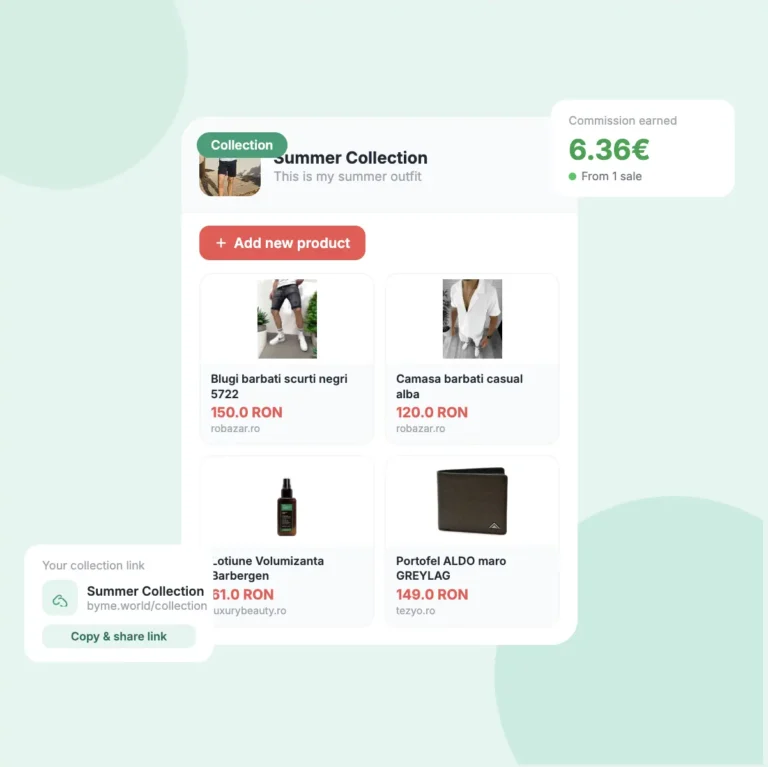
Creating a collection takes less than a minute. Give it a name, add a description and a cover photo — and you’re ready to start adding products.
Maria Popescu
Creator Success Lead
What you'll learn
Two ways to open the collection creation form
How to name and describe your collection
How to add a cover image that gets more clicks
How to avoid the most common mistakes from day one
1
STEP ONE
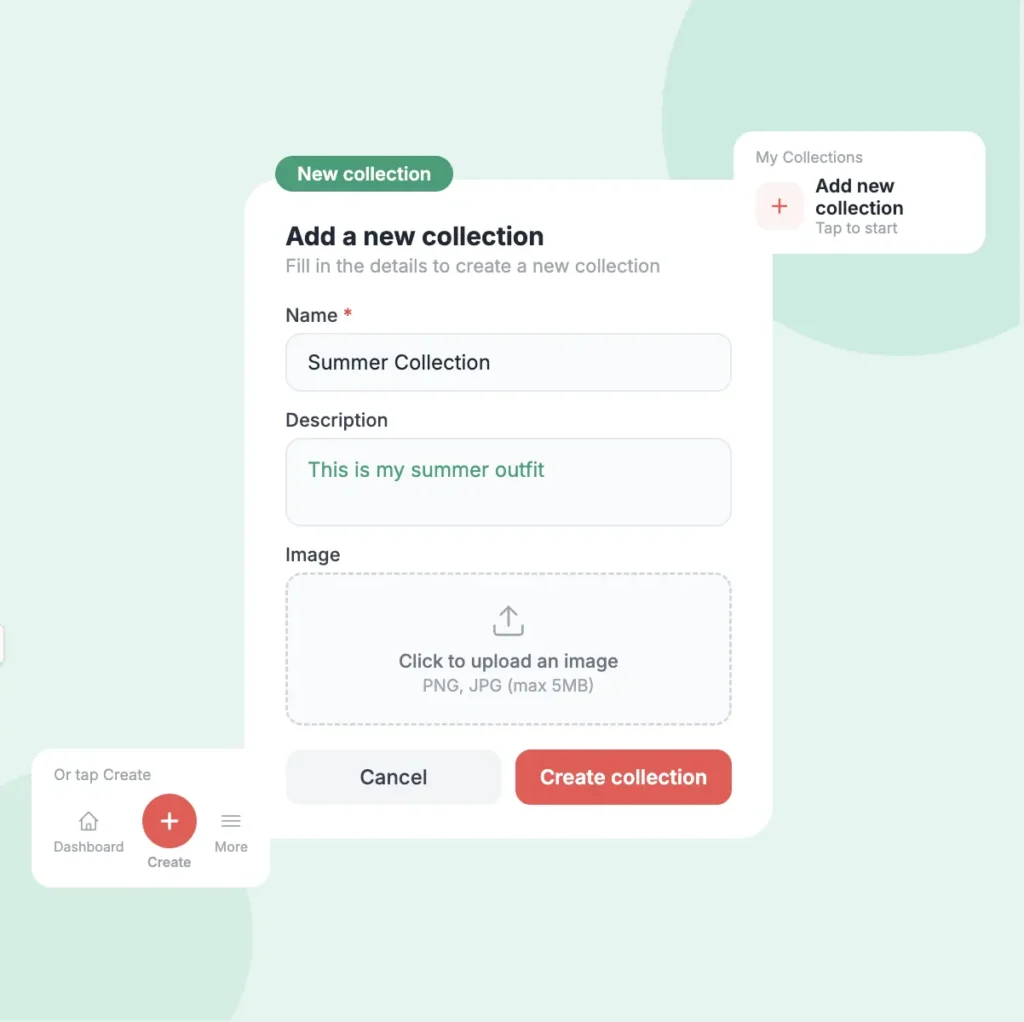
Open My Collections.
Tap Collections in the bottom navigation bar, or click it in the menu. This is where all your collections live.
You can see all your collections here — active and inactive
Each collection shows its name, date, number of products, and a Share button
Click + Add new collection to open the creation form
2
STEP TWO
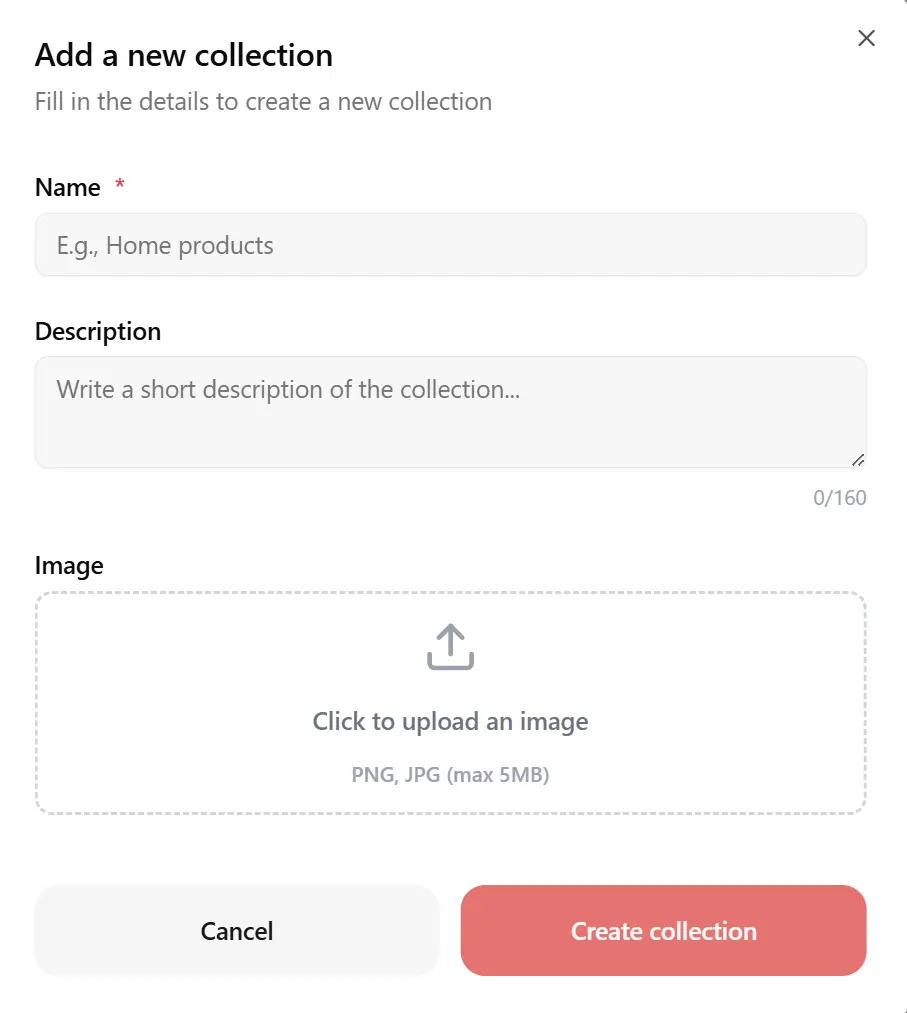
Fill in the collection name.
This name is the only required field — you must fill it in before you can create the collection.
Choose a name that describes what the collection is about — e.g. "Summer outfits" or "My skincare routine"
The name is what your followers will see first
This field is marked with a red * — this means it's required
Good to know
Keep the name short and specific — "Winter jackets" works better than "My collection 7".
3
STEP THREE
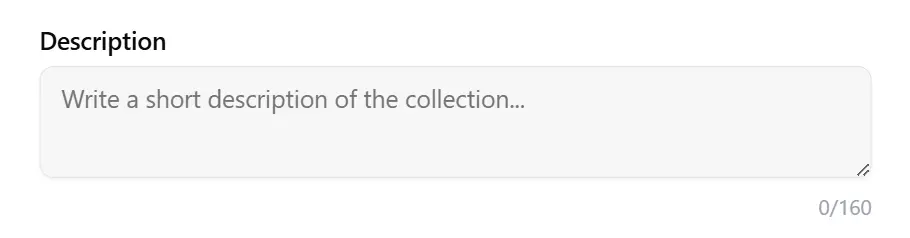
Add a description (optional).
The description appears below the collection name when followers open it. It helps them understand what the collection is about before they scroll through the products.
Keep it short — one or two sentences is enough
Tell followers what kind of products they’ll find
This field is optional — you can skip it and add it later
4
STEP FOUR
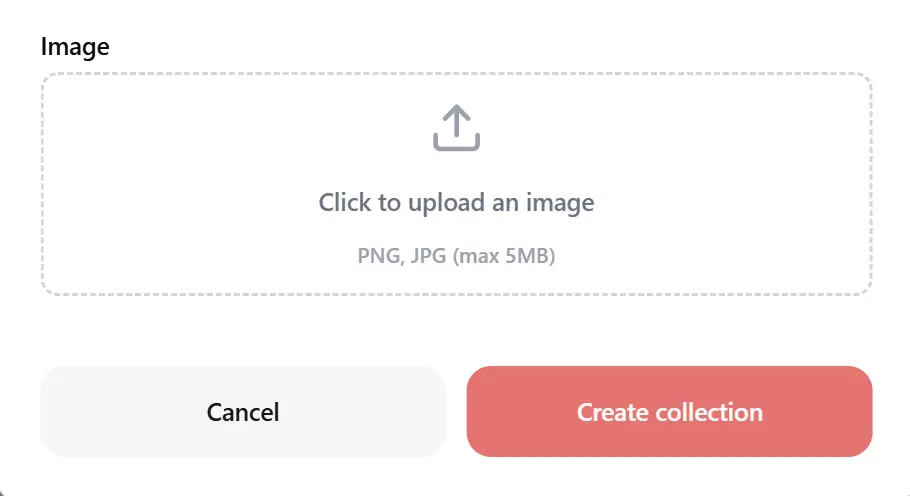
Upload a cover image & create.
The cover image is what your followers see on the collection card. It’s the first visual impression of your collection.
Click the upload area and choose a photo from your device
Accepted formats: PNG or JPG, maximum 5MB
Use a photo that represents the theme — e.g. a photo of yourself wearing the outfit
This field is optional — you can add an image later
When you're ready, click Create collection
Good to know
Collections with a cover image get more clicks than those without one. Always add a photo.
Related tutorials
Short, clear, practical guides. Learn how the platform works, how to grow your earnings, and how to manage your collections.